
To do a wing foil 360, carve into a jibe with a wide radius, keep the back hand passive as backwind pressure builds through the middle of the turn, then push the wing’s front tube toward the inside to pull power back on and complete the rotation on the foil.
The 360 is the natural next trick once your jibe and tack are solid, and most riders learn the flat, carving version before adding a jump. If you’re still working on the basics, our beginner’s guide to wing foiling covers them first. This guide covers the full rotation step by step, where the wing should be at each phase, the mistakes that stall it, and how to progress toward an air 360.
What is a wing foil 360?
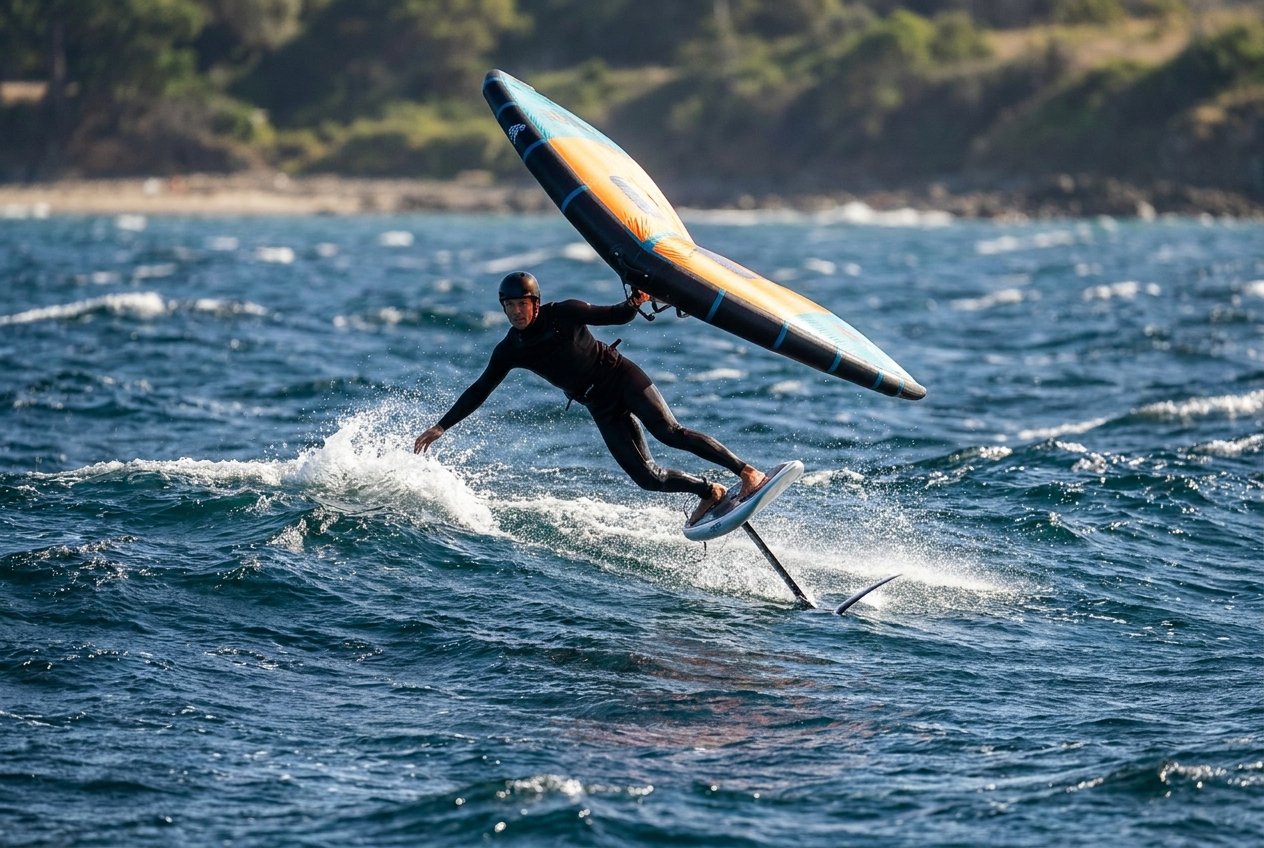
A wing foil 360 is a full 360-degree turn made on the foil, initiated like a jibe and carved to leeward rather than upwind. SURF magazine describes it as starting with a wide radius that tightens as the move finishes, and calls it “a stylish and not at all difficult manoeuvre when wingfoiling.”
Most riders learn this flat version first, sometimes called the carving 360 because you carve the whole circle rather than jumping through it. Tonic Mag’s carving 360 guide is explicit about the idea: “you use your speed, balance, finesse and glide to get you around” and “you won’t be calling on the wing for assistance until you’re back to heel side.”
What do you need before attempting a 360?
A safe, comfortable jibe. SURF magazine puts it simply: “If you can jibe reasonably safely, you are basically ready for this trick.” Wing brand Sroka adds balance on the foil with your feet in different positions, wing control, and enough speed to stay airborne for the whole rotation.
- Don’t be overpowered. SURF magazine warns that an overpowered wing makes the back pressure during the backwind phase very hard to control. If in doubt, size down using the wing foil calculator, or wait for lighter wind.
- Give yourself downwind space. The turn runs blind through part of the rotation, so check the coast is clear before you start.
- Flat water helps. Sroka recommends moderate wind, not too strong or too weak, and water without much chop or current.
- Consider losing a foot strap. Sroka’s advice for riders new to the move: “remove all your foot straps, or if you don’t know how to ride without foot straps, remove at least the back strap.”
- The duck gybe helps most of all. Tonic Mag calls the heel-to-toe duck gybe the real prerequisite for the carving 360, since the approach, entry and initial wing action all carry over.
What are the steps to a wing foil 360?
The move is one continuous carve, but it breaks down into distinct actions as your heading rotates. Sroka and Tonic Mag both build the sequence around the same core idea: power at the start, a neutral wing through the middle, power again at the end.
- Set up with speed. Approach on an upwind course, sheeted in and powered, so you have plenty of momentum to carry into the turn. Sroka suggests offsetting your back foot slightly downwind for stability.
- Initiate like a jibe. Push on the balls of your feet and lean your body slightly into the turn, keeping the back hand tight so the wing stays powered through the first quarter.
- Tilt the wing’s leading edge down. Push the front hand forward and down, bringing the back hand up towards head height, so the tips clear the water as you carve.
- Hold a wide radius past downwind. As you cross the first 90 degrees, the wing goes light: SURF magazine notes that “the airstream and the actual wind almost neutralise each other” here, so there is no pull to lean on.
- Let your back hand go passive. Through the backwind phase your foot pressure and balance do the work. Keep the front tube at a distance with your front arm rather than fighting the building back pressure.
- Bring the wing up and overhead. Push your front hand up and forward to float the wing neutral above you as you carve back upwind, resisting the urge to pull it in with the back hand.
- Hook the wing back to power. In the final quarter, push the wing’s front tube towards the inside of the turn so it fills from the correct side again and starts pulling you back up to speed.
- Bear away to finish. Pull the back hand in and push the front hand away and slightly downwind to regain speed and stability as you exit the turn.
SURF magazine’s Manuel Vogel is honest about the first attempts: early on, your board will likely touch the water before you complete the final quarter. That is normal, and it is only a matter of practice before you string together a fully foiled 360.
Where should the wing be through each phase of the rotation?
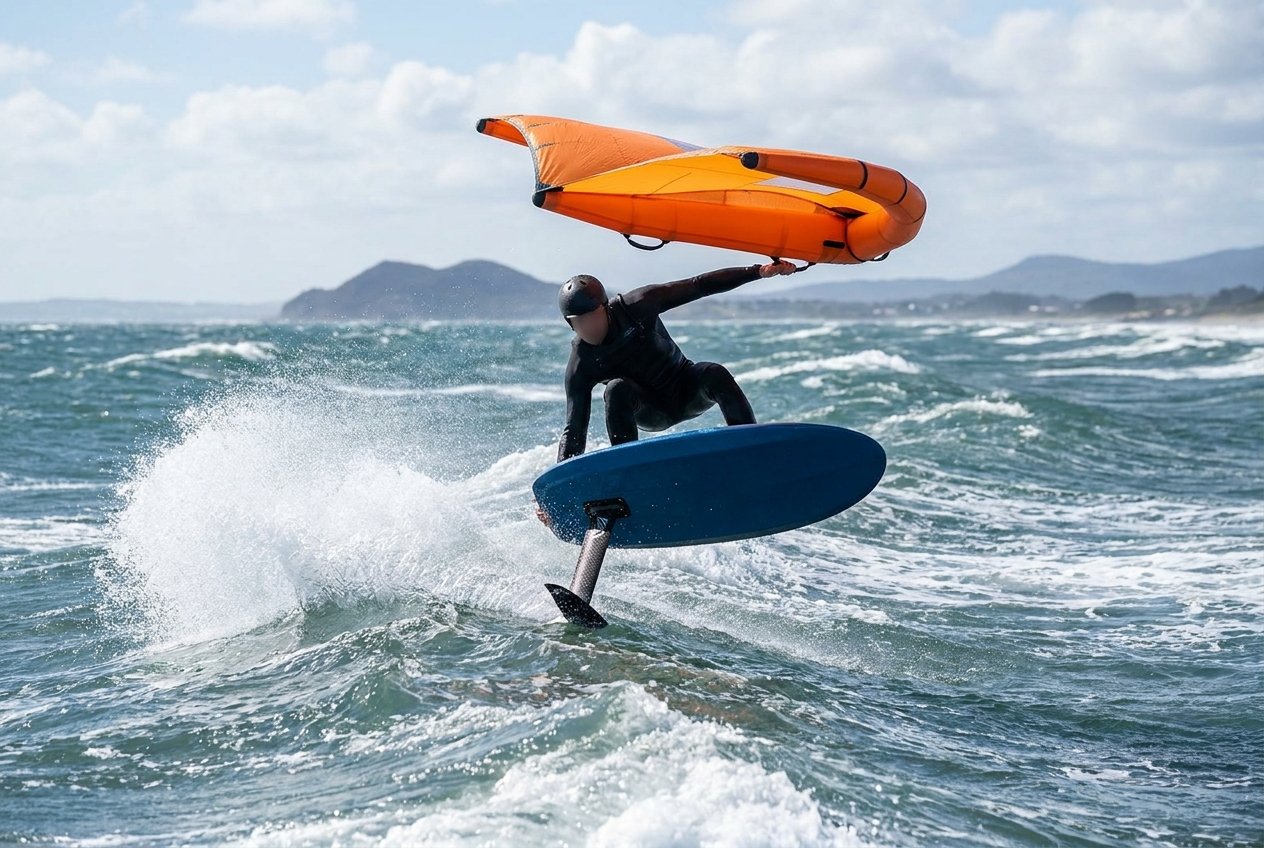
SURF magazine breaks the 360 into four quarters, and matching your wing position to your heading is most of the trick. Tonic Mag’s step-by-step carving 360 guide lines up with the same four phases.
| Phase | Heading | Wing position | What to avoid |
|---|---|---|---|
| 1. Introduction | 0-90° | Powered, back hand tight, wide radius | Turning too tight early and losing speed |
| 2. Start of the backwind | 90-180° | Light and neutral as apparent and true wind cancel out | Grabbing for power that is not there yet |
| 3. Managing back pressure | 180-270° | Front arm holds the wing at a distance, back hand passive | Fighting the back pressure with the back hand |
| 4. The last hook | 270-360° | Front tube pushed to the inside to re-power | Rushing the finish before speed returns |
Tonic Mag’s version of the same middle phase is specific about what a neutral wing looks like: with the leading edge “pretty much parallel to her board,” there is “no chance of wind getting in it, and no chance of getting backwinded by her induced wind.”
What are the most common wing foil 360 mistakes?
- Fighting the back pressure with your back hand. SURF magazine calls this “the most common mistake when learning the Foil-360.” Let the wing open on its own and control it with your front arm instead.
- Holding the wing too far back down the board. Tonic Mag warns this pulls your weight onto your rear foot, and “you’ll either breach or stall your foil.”
- Leaning onto the wing, anticipating power from the wrong side. Tonic Mag says this leaves you unbalanced over the board, “much more likely to lose balance and fall to the inside.” Lift the front hand to let the breeze pass underneath instead.
- Carving too wide a radius. Sroka’s fix for a board that touches down mid-rotation is simple: opt for a shorter turning radius.
How do you progress from a carving 360 to an air 360?
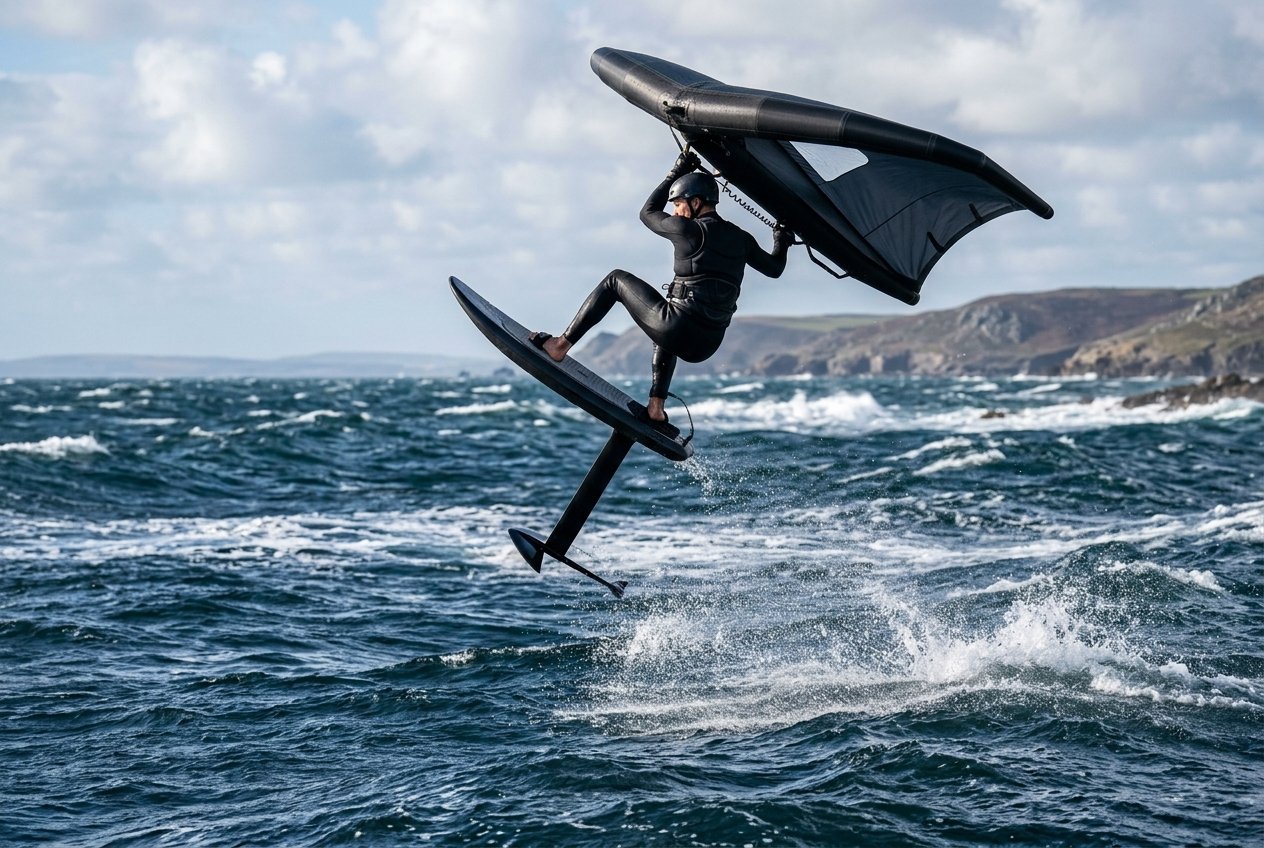
Once your carving 360 is consistent, the air 360 adds a jump. AK Durable Supply Co’s tutorial with rider Florian Jung sets the prerequisite plainly: “you should be able to do straight jumps, using the foil to pop.”
- Pop first. “Jump over a little wave, or use the pop of your wing,” per AK’s tutorial.
- Start the rotation in the air. “Bend your arms, turn your hips and kick the back foot forward.”
- Tighten the spin. Bring your hips in close to your hands and look towards the direction of rotation.
- Push the wing through the wind. Sheet out as you push, rather than holding it sheeted in through the rotation.
Start with the easiest variant. AK’s guide is direct about which one that is: “there are different 360 variations, like backside or toe side 360s, but the easiest option is to go for the backside 360.”
Frequently asked questions
Is a wing foil 360 hard to learn?
Not especially, once your jibe is solid. SURF magazine calls it "a stylish and not at all difficult manoeuvre when wingfoiling" and says that if you can jibe reasonably safely, you are basically ready. The main skill is managing the wing through the neutral, backwinded middle of the turn, and not being overpowered.
What is the most common mistake in a wing foil 360?
Fighting the building back pressure with your back hand instead of leaving it passive. SURF magazine names this "the most common mistake when learning the Foil-360." Let the wing open on its own, control it with your front arm, and keep the back hand passive until the final quarter.
What is the difference between a carving 360 and an air 360?
A carving 360 stays on the foil the whole way round, using speed, balance and glide rather than the wing. An air 360 adds a jump: AK Durable Supply Co says you should first be able to "do straight jumps, using the foil to pop," and recommends the backside 360 as the easiest variant.
Should I remove my foot straps for a wing foil 360?
If you're new to the move, yes. Sroka's advice is to "remove all your foot straps, or if you don't know how to ride without foot straps, remove at least the back strap." The 360 needs balance with your feet in different positions, which straps can restrict.
How long should I practise the 360 in a session?
Sroka recommends dedicating 20 to 30 minutes of a session to the 360 alone rather than mixing it with other moves. Expect the board to touch down in the final quarter on early attempts; SURF magazine says that is normal and only a matter of practice.
